How to Find the Perfect AV Receiver for Your Home Theater

What’s the key to a high-performance home theater? It’s not the speakers or the screen, but rather your AV receiver. A receiver connects the individual elements of your system to create the cinematic experience. However, this sturdy piece of equipment contains a plethora of acronyms and sockets that can confuse many first-time buyers. Luckily for you, our team at iWired is here to help guide you through the process of purchasing, installing, and calibrating an AV receiver that fits your budget and watching habits.

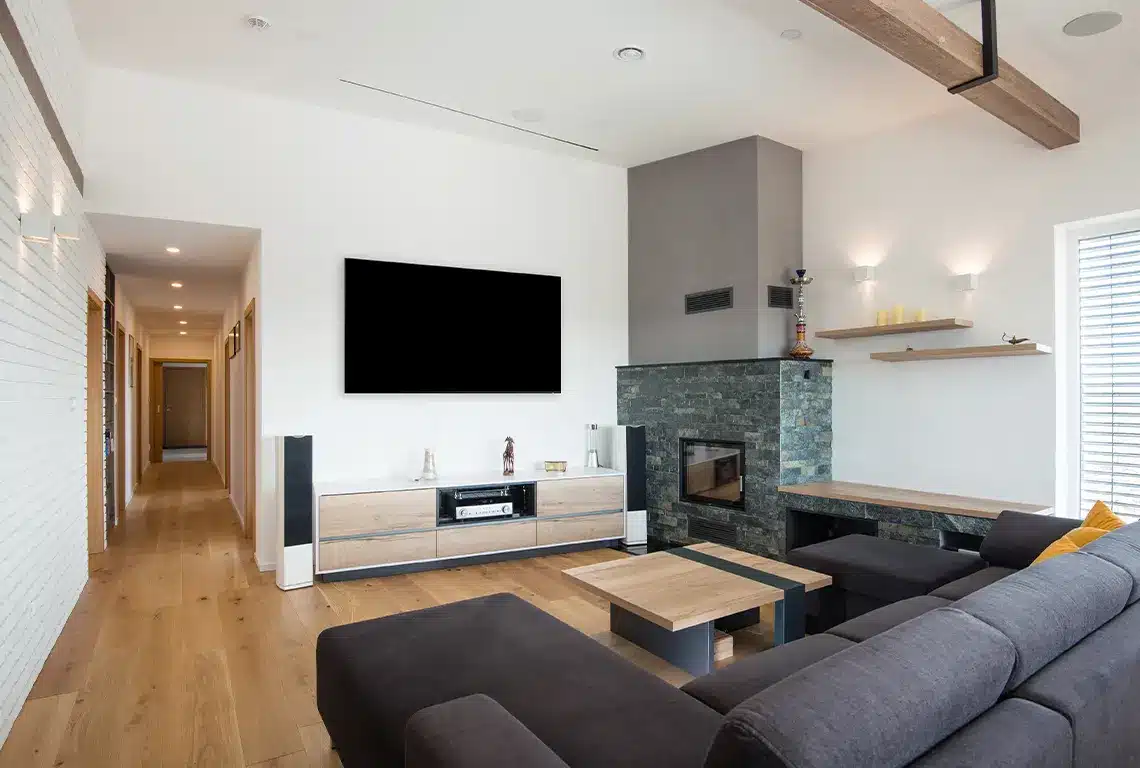
Budget and Buy Your AV Receiver

Before you begin looking at AV receivers, consider these three questions:

  • How many speakers will I have?
  • How many inputs do I need?
  • What is the size of my budget?

Your answers to these questions will simplify your process. Let’s begin with the number of speakers you’d like to use. In a minimal 5.1 surround-sound setup, you’ll need five speakers and a subwoofer. However, if you think you’d like to go all-in with 11 channels of sound either now or later, it’s best to invest in a receiver that can handle 9 to 11 channels. Next, your AV receiver needs to include the appropriate inputs for whatever sources you plan to connect, whether it’s your Roku, Blu-Ray player, or PlayStation 5. Finally, your estimated budget is a helpful indicator of an AV receiver right for you. For basic 5.1 surround sound and a few inputs, you can find a receiver for $450 or lower. If you’re looking for more modern features, like Wi-Fi, Dolby Atmos, DTS:X, 4K HDR passthrough, additional inputs, and music streaming, a respective AV receiver will be priced around $800. If your AV receiver is over $1,000, you’ll be able to enjoy everything listed above with more control and power. If you haven’t settled on a budget quite yet, just cut your total speaker budget in half. The resulting number should be within the higher range of the cost of your AV receiver.

Plug In All the Components

You’ve bought your AV receiver and are ready to begin the setup. It’s time to tackle all of the inputs. If you set up the connections properly to start with, you won’t have to worry about them ever again. Before you plug in any sources, prevent short-circuits to the system by powering off your amp. AV receiver manufacturers clearly label and color code inputs that correspond with the respective connections. These labels are fairly straightforward: DVD, CD, Game, and CBL/SAT are some common ones, although your Blu-Ray player plugs into the “HDCP2.2” input. A quick Google search will clear up other inputs you’re wondering about. We strongly recommend foregoing the Wi-Fi hookup for a wired ethernet connection instead; it’s a more reliable connection. Here’s a fun secret: the USB port on the front of some receivers can play media files from a USB drive or charge up your smartphone!

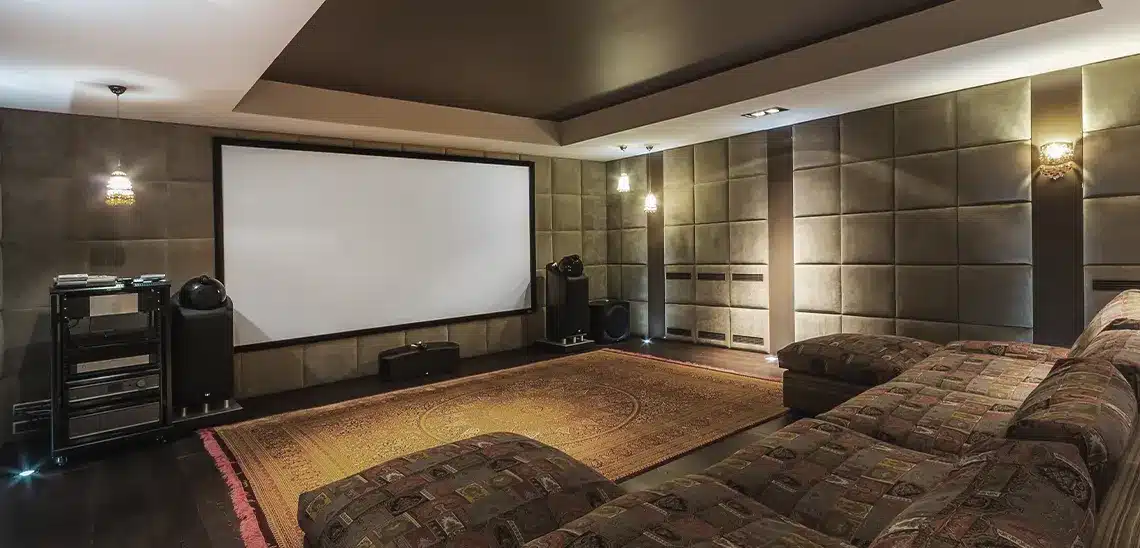
Calibrate the System

It may take less time to calibrate your receiver than setting it up. The majority of amps have an auto-calibration microphone that measures the speakers and room to set the optimal distances and levels. Plug in the microphone, then follow the step-by-step instructions on the screen. In a few minutes, your audio will be calibrated! But if the sound doesn’t seem quite right, trust your ears and don’t be afraid to manually adjust the speakers’ levels and distances in the settings menu. Don’t toss that setup mic; if you decide to rearrange your speakers or furniture, you’ll need to recalibrate your system again. We also suggest you turn off the dynamic range compression (DRC) in the settings so your neighbors aren’t concerned about the number of large explosions coming from your home’s action movie night.

Play with Special Effects

It’s nearly time to kick back and relax, but now comes the most fun part of setting up your AV receiver. It’s worth exploring the myriad of audio and visual settings that alter and enhance sound effects and music, including surround sound modes and digital sound processing (DSP). With Dolby or DTS modes, you can boost particular aspects of sound through personalized settings that highlight the audio of Sci-Fi, Drama, Adventure, and Game experiences. There are even audio effects that imitate the acoustics of jazz clubs, concert halls, and cathedrals. We opt for simple filters like Straight, Direct, or Pure Direct that create a clean sound no matter the media. But if certain filters are truly appealing, you can always create presets that are easy to swap between for movie genres, video games, or sporting events.

Pop Your Popcorn

Now you can finally enjoy the cinematic experience from the comfort of your home! To develop your audio quality, we highly suggest you warm up the AV receiver by “running it in” (playing continuously) for 24 – 48 hours before any serious viewing. With extended use, your amp will only sound better over time, which is the perfect excuse to binge-watch that new TV series! Whether you have questions about a new AV receiver, or you’d like our team of certified professionals to install your entire home theater system for you, contact our team at iWired today to begin!